
Inventor is a computer software that allows you to take the craziest 2D images you can create and make them 3D. Start off on paper so you have some dimensions and a good foundation. Like this -
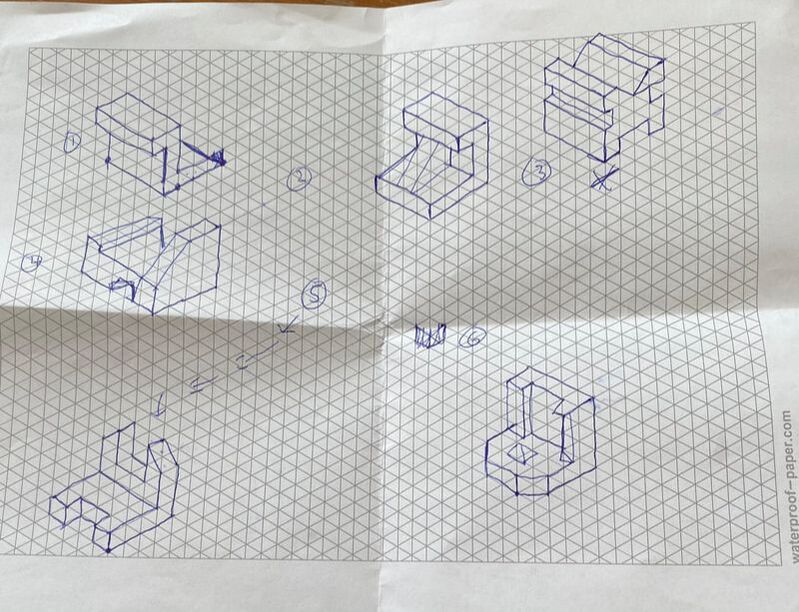
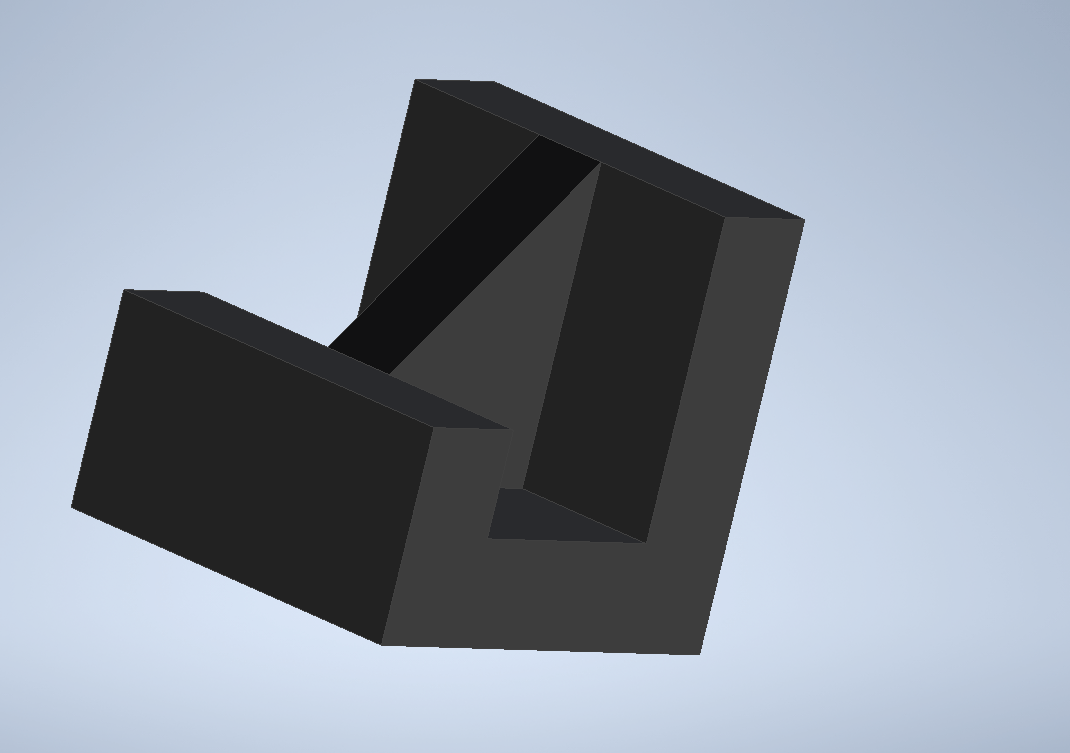
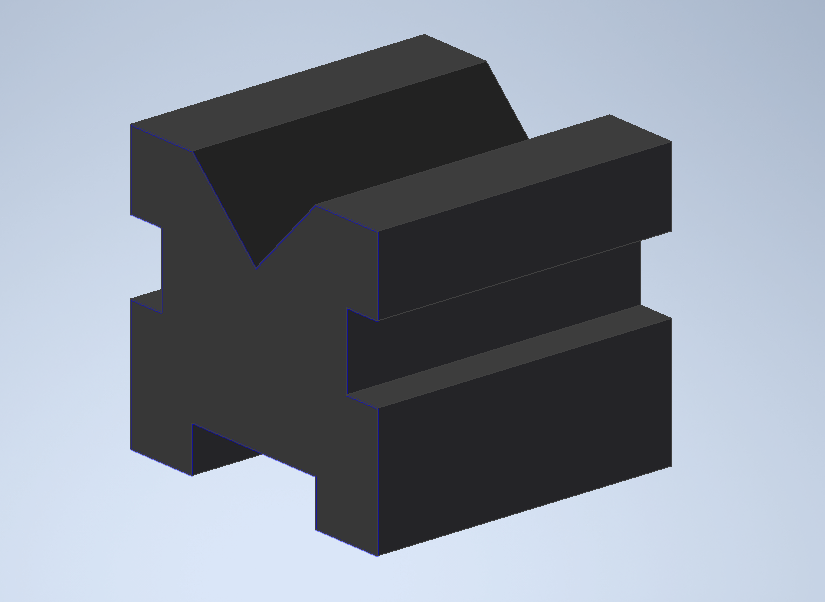
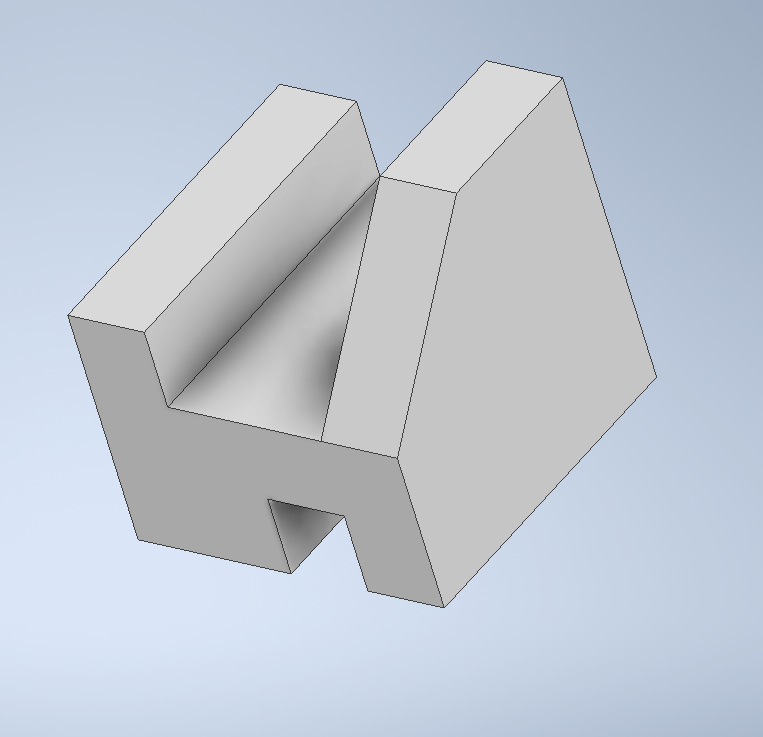
To create a widget you first need to complete a drawing on isometric graph paper like the widgets above. Then open up Inventor and draw a rough outline of the sketch then dimension it.
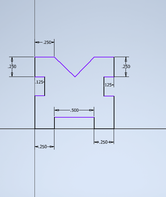
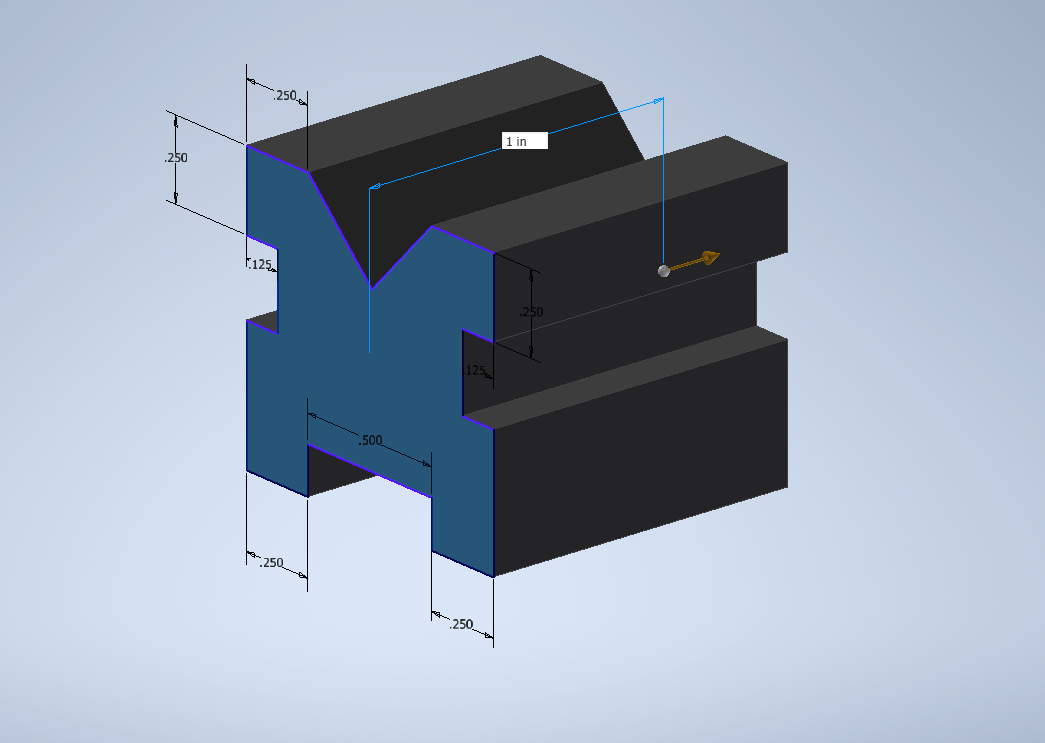
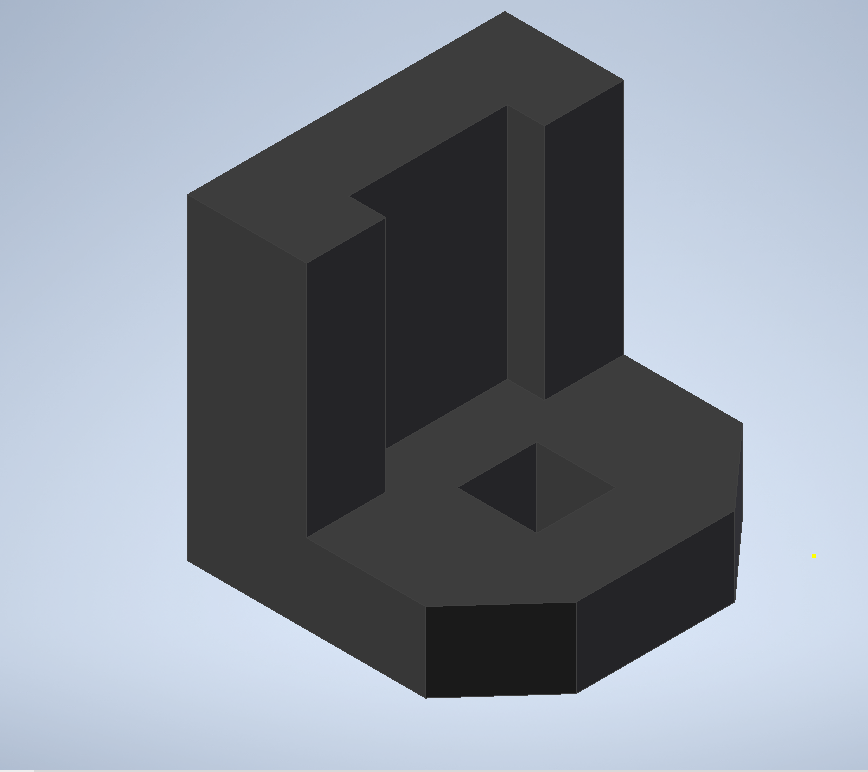
After applying dimensions you will extrude the drawing.
|
|
Makerbot
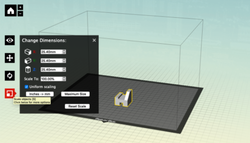
When you first upload your widget into Makerbot you will need to change the dimensions so the shape comes out in the proportions you want.
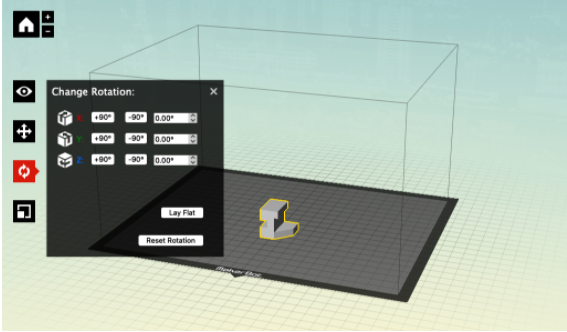
This is what the preview screen looks like when printing a widget. Be sure to have the widget in an orientation that the printer has the maximum amount of flat surface possible for the best finished product.
(FYI my makerbot files were on the school computer and I did not have access to them so I used what I could find to get this turned in)
(FYI my makerbot files were on the school computer and I did not have access to them so I used what I could find to get this turned in)
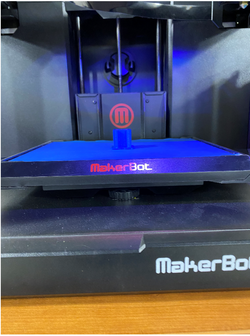
Here is a picture of my widget printing.
|
|
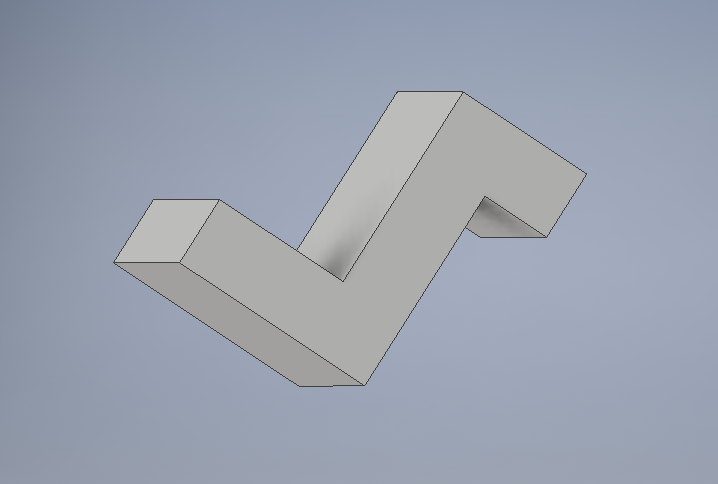
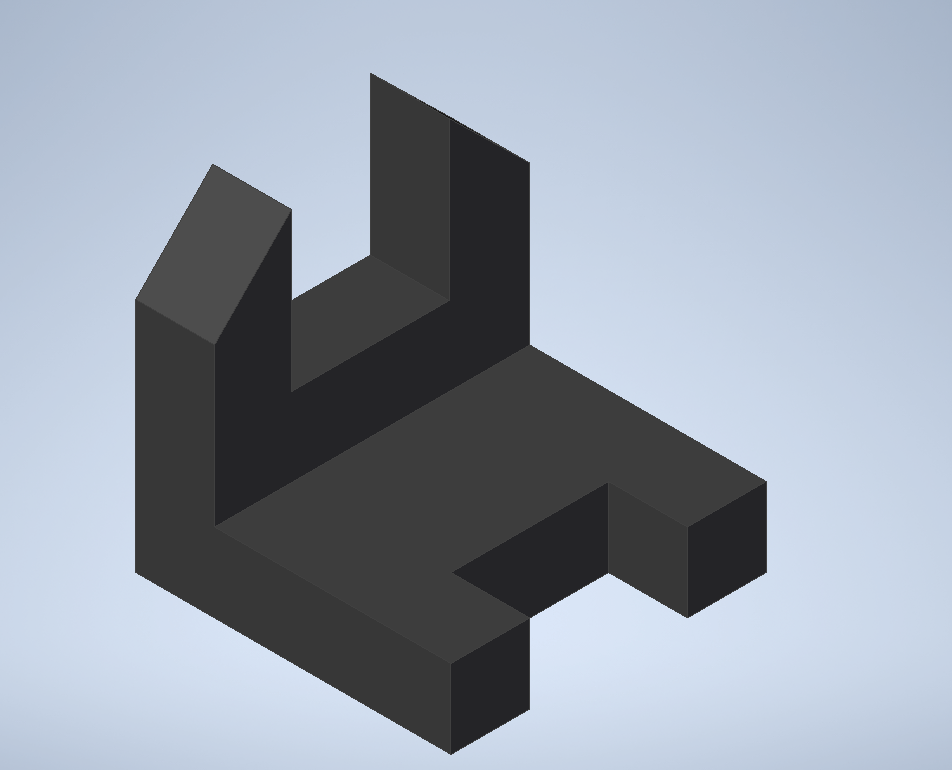
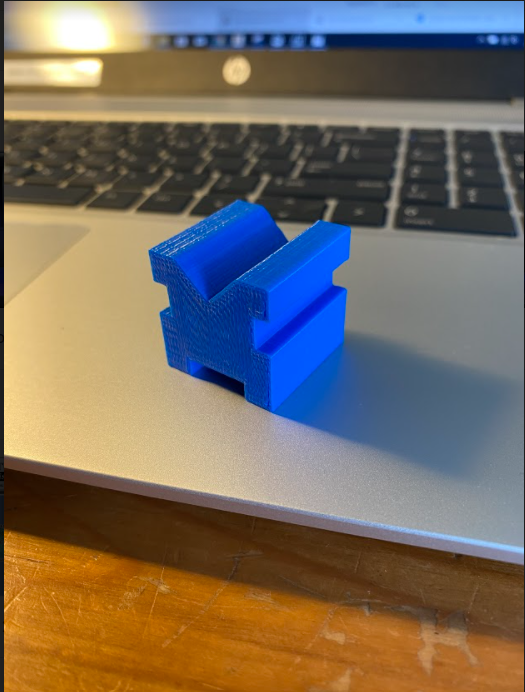
Here is my widget all done.
Conclusion
In this part of Idea I learned that when using any new software such as Inventor and Makerbot, it takes time to figure out how to use all of the tools on the programs. Although once you start getting a hang of things you can make anything you could ever think of using these software. I now can take any idea I have. Sketch it out, draw it into inventor, upload it to Makerbot, and finally put it into the 3D printer to create my final idea.
